

In order to take the perfect picture of your handmade wooden project, it's helpful to have a lightbox that's similar to what professionals use but definitely cheaper to make yourself.
I was thinking about what project I was going to work on today. I decided to flip through some of my past projects and I found a consistent problem with all of them. Don't get me wrong I think that my projects are perfect but most of the photos were lacking. They were just various shots of the items in my shop with dirty shop towels and distracting bins in the background. So what would be the best way to fix that? I sure wasn't going to bring every project to a professional photo studio. So I decided to start looking into photo studio supplies. After I realized I would never be able to afford anything professional, I took a closer look at what was being offered and decided I could set something like that up in my shop in no time at all.
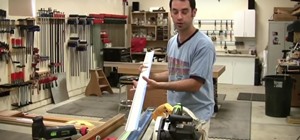
I was going to make a photo light box. I decided to start small to see how it would work out. This project is very simple and pretty cheap as well. This is assuming that you have a DSLR camera. I have a Canon Rebel. We got it a few years back and I'm sure you can pick up an older model like mine on ebay for little money. They are great for taking quick high quality photos. So in addition to the camera you will need a tripod, some lights, a box, some shop towels or white t-shirts, and a piece of poster board. I used white poster board but you can pick up various colors if you like to give your photos a little more pop.
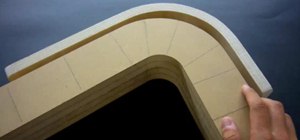
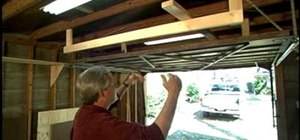
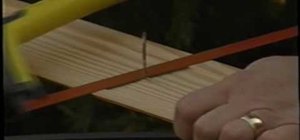
To make the box itself, I took a medium sized moving box that I found at Lowe's for $0.75. I then cut out three sides of the box, leaving a 1.5" lip around the edges so it looks like I cut out a window of sorts. I took a straight edge and marked 1.5" in on all sides and cut out the three "windows" - one on the top and one on each side. With the holes cut in the box I then stretched the shop towels over the holes and taped them in place. This is to diffuse the light. Finally I took my poster board and cut it to fit into the box and secured it to the top back corner of the box and that completed our small light photo box.
Taking the Perfect Picture
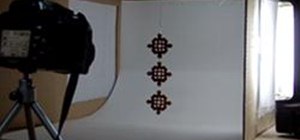
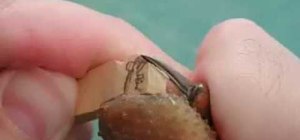
Now that our light box is created it is time to take our photos. The first thing you will want to do is get some small lights. I used a simple shop flashlight to increase the light inside the box. Then place the item you want to photograph inside the box. I was featuring a hanging ornament so I just taped the wire to the top of the box and let it hang. Now you will need to place your camera on a tripod and set your camera on a self timer to take the photo. Your hands may be steady but when setting the shutter speed to a slower setting you can't be that steady, so the tripod guarantees sharp pictures. Don't forget to turn your flash off as well. When you take the photo, keep in mind you can crop the photo on the computer later so don't try to zoom in too much with the camera.
That's it. If you take your time and play with the camera settings a bit you can have professional looking photographs of your smaller projects in just about a half hour of shop time and fifteen minutes of photo-shoot time.
Video
Just updated your iPhone? You'll find new emoji, enhanced security, podcast transcripts, Apple Cash virtual numbers, and other useful features. There are even new additions hidden within Safari. Find out what's new and changed on your iPhone with the iOS 17.4 update.


1 Comment
gr8 tutorial,thx4sharing and a happy xmas from Berlin.Germany.
Share Your Thoughts