

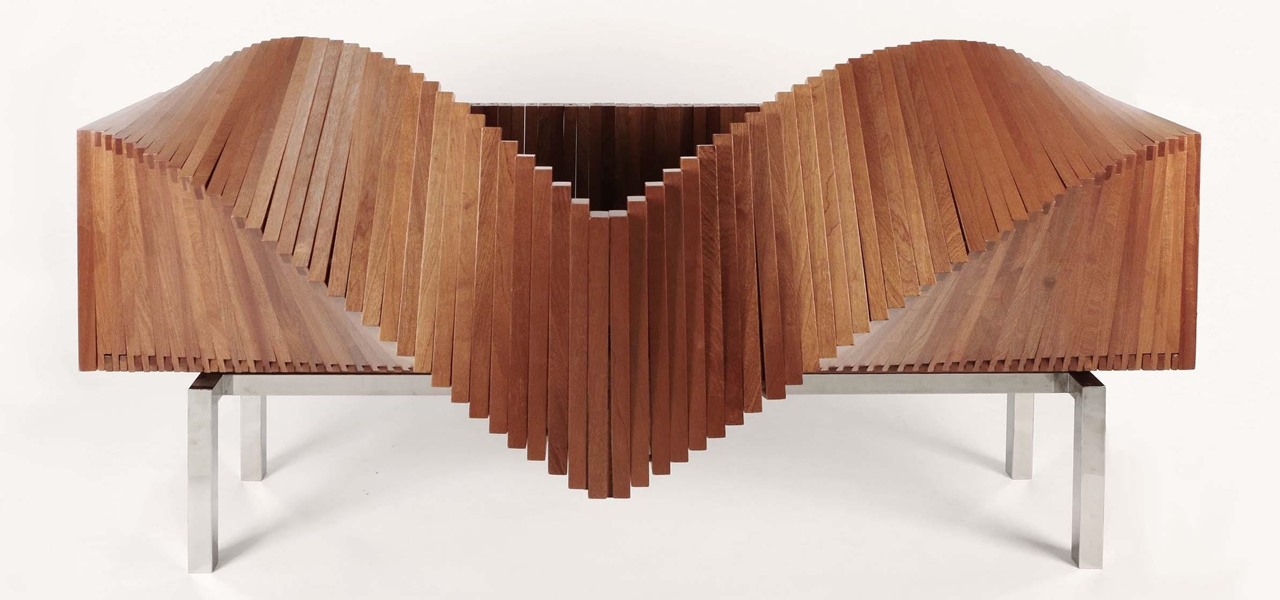
Hot Furniture & Woodworking How-Tos


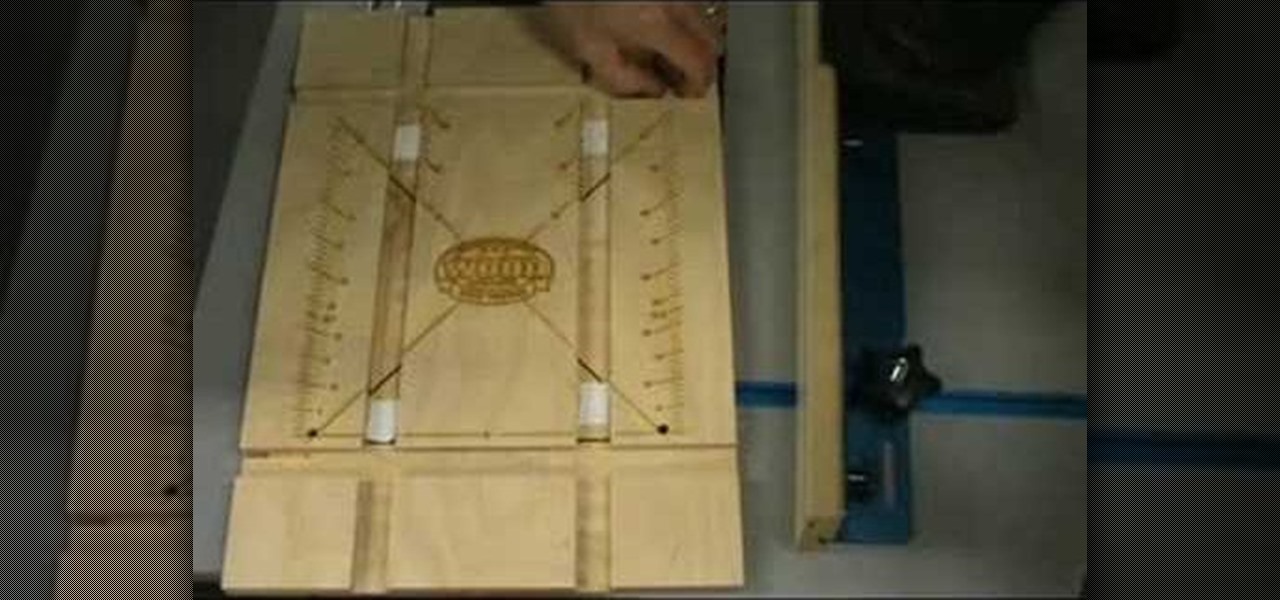
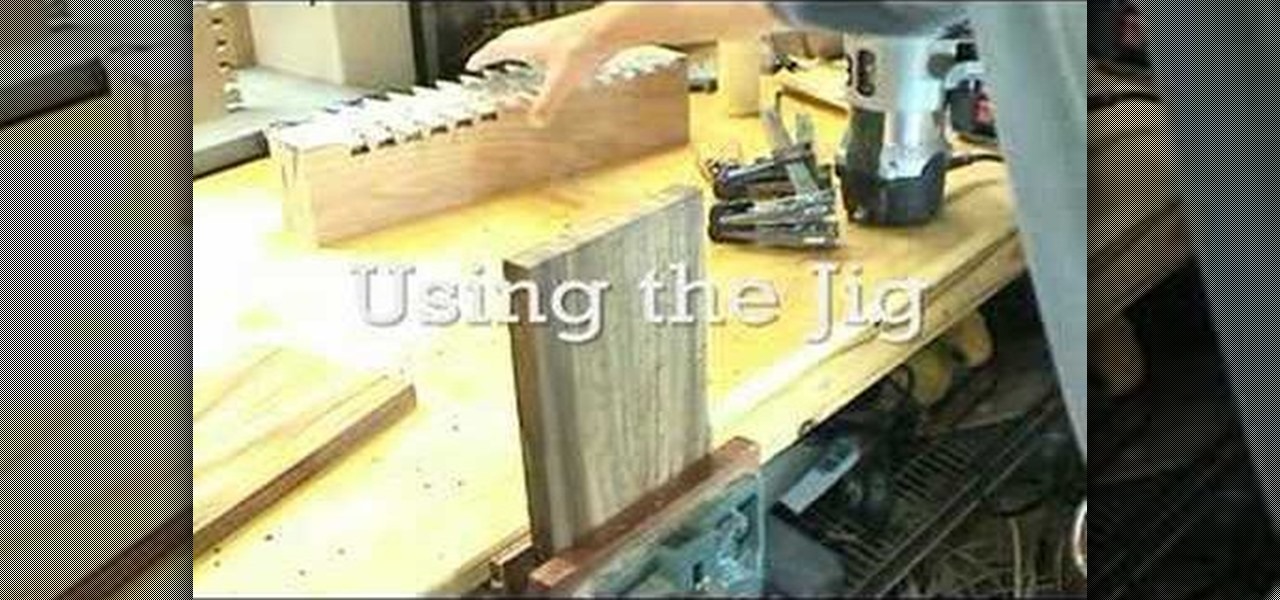
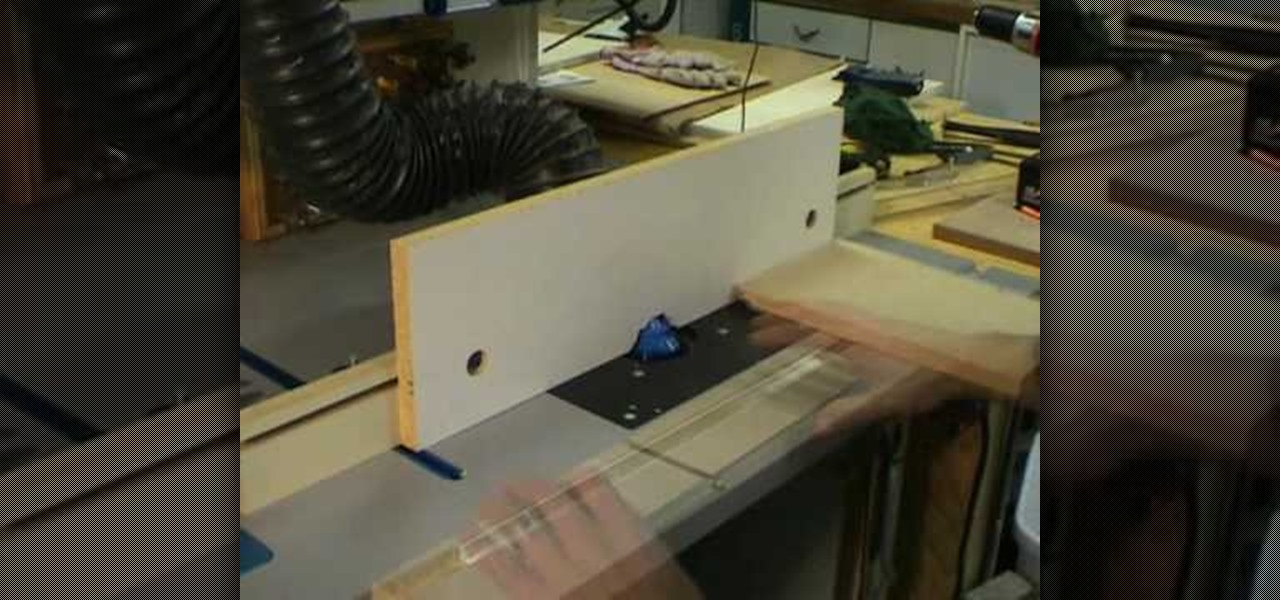
How To: Assemble Wood Magazine's universal tablesaw jig
Eagle Lake Woodworking, hosted by John Nixon, offers great do-it-yourself guides for building your own furniture, especially in the American Arts and Crafts style, and turning your garage into an amateur woodshop. Search Eagle Lake on WonderHowTo for more carpentry tutorial videos. From Eagle Lake Woodworking on this specific lesson:

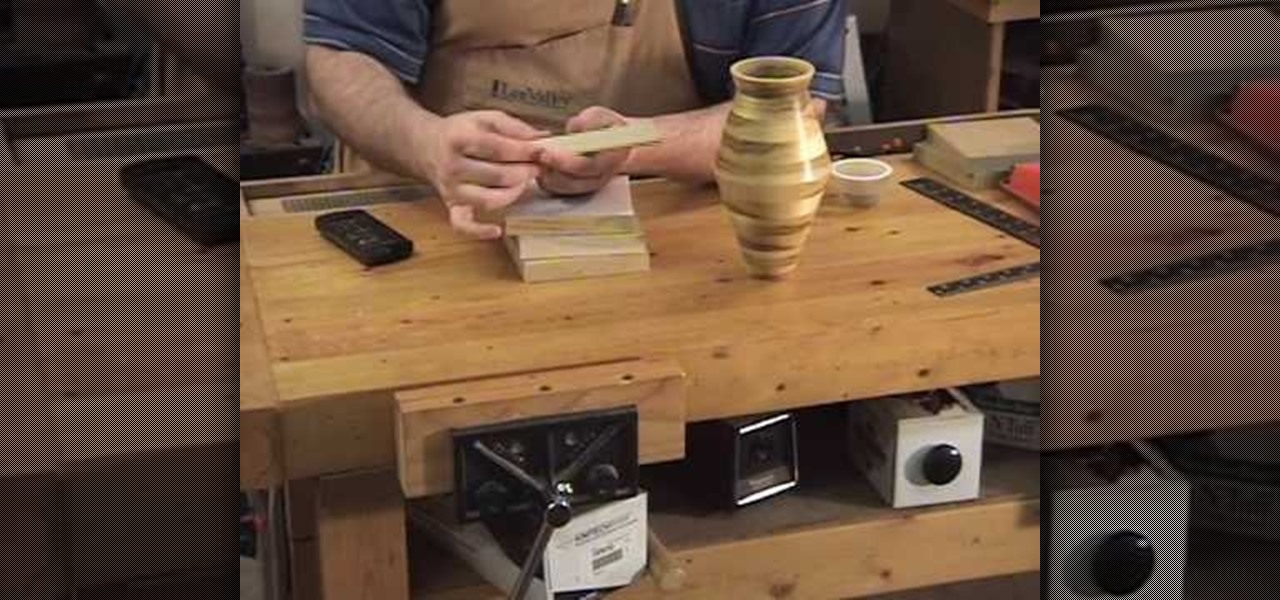
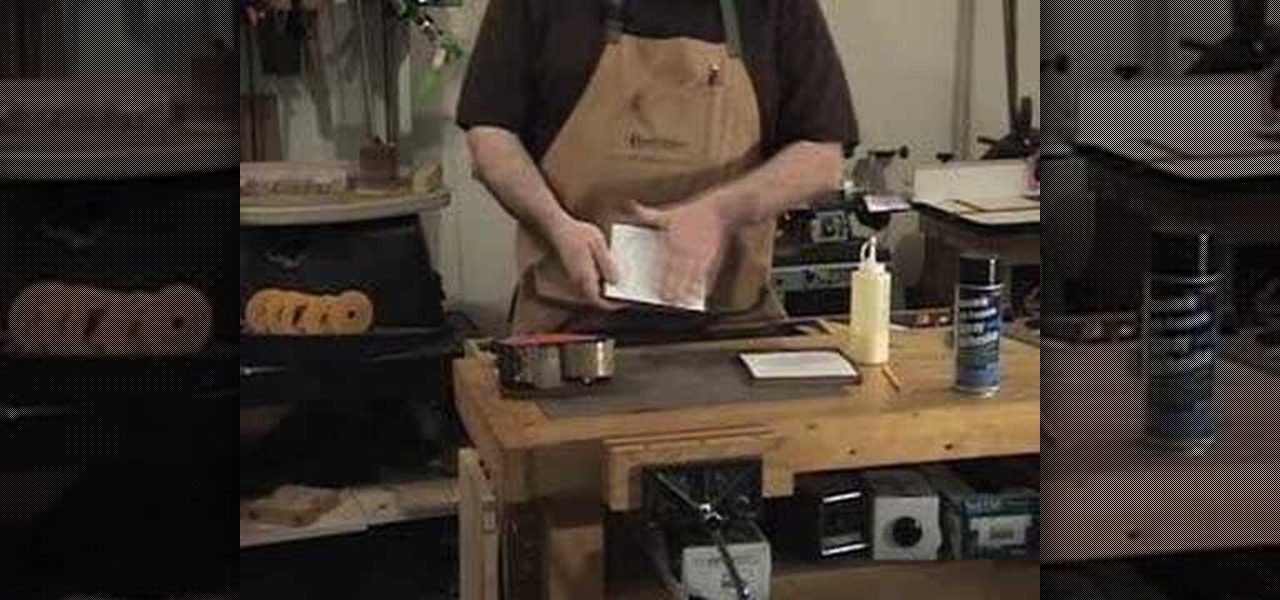
How To: Use a Katana flush router bit for woodworking
Eagle Lake Woodworking, hosted by John Nixon, offers great do-it-yourself guides for building your own furniture, especially in the American Arts and Crafts style, and turning your garage into an amateur woodshop. Search Eagle Lake on WonderHowTo for more carpentry tutorial videos. From Eagle Lake Woodworking on this specific lesson:
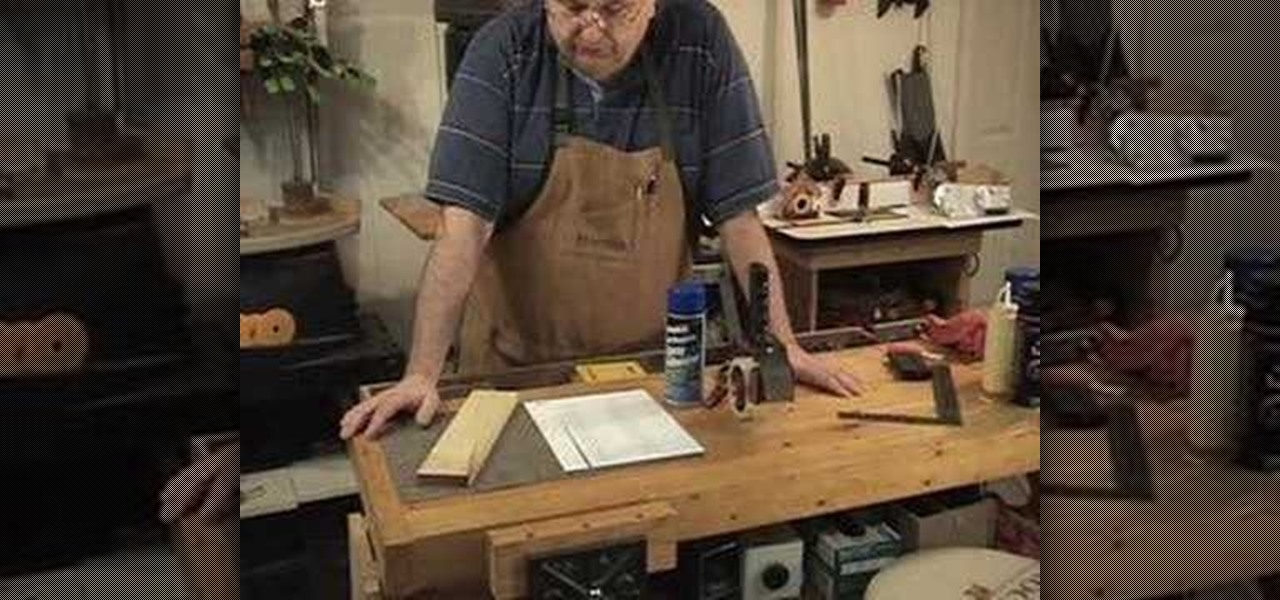
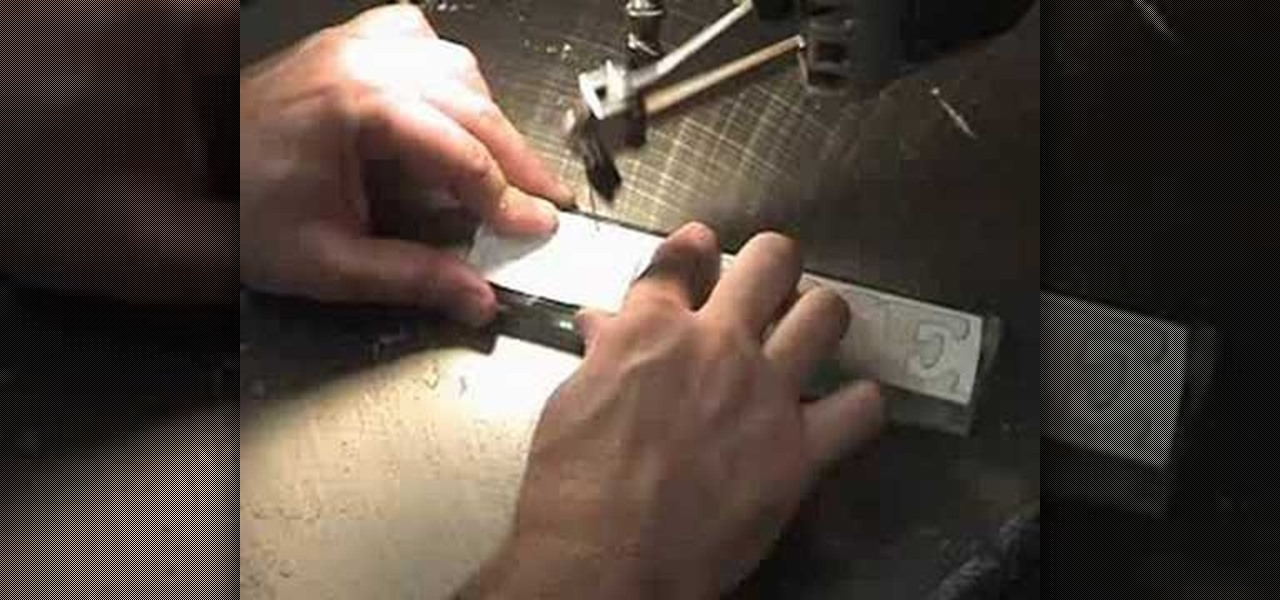
How To: Build through dovetail templates with MLCS woodworking
Eagle Lake Woodworking, hosted by John Nixon, offers great do-it-yourself guides for building your own furniture, especially in the American Arts and Crafts style, and turning your garage into an amateur woodshop. Search Eagle Lake on WonderHowTo for more carpentry tutorial videos. From Eagle Lake Woodworking on this specific lesson:
How To: Build a pool table
Eagle Lake Woodworking, hosted by John Nixon, offers great do-it-yourself guides for building your own furniture, especially in the American Arts and Crafts style, and turning your garage into an amateur woodshop. Search Eagle Lake on WonderHowTo for more carpentry tutorial videos. From Eagle Lake Woodworking on this specific lesson:

How To: Sand wood
Sanding is an important step when preparing wood for painting or staining. You Will Need

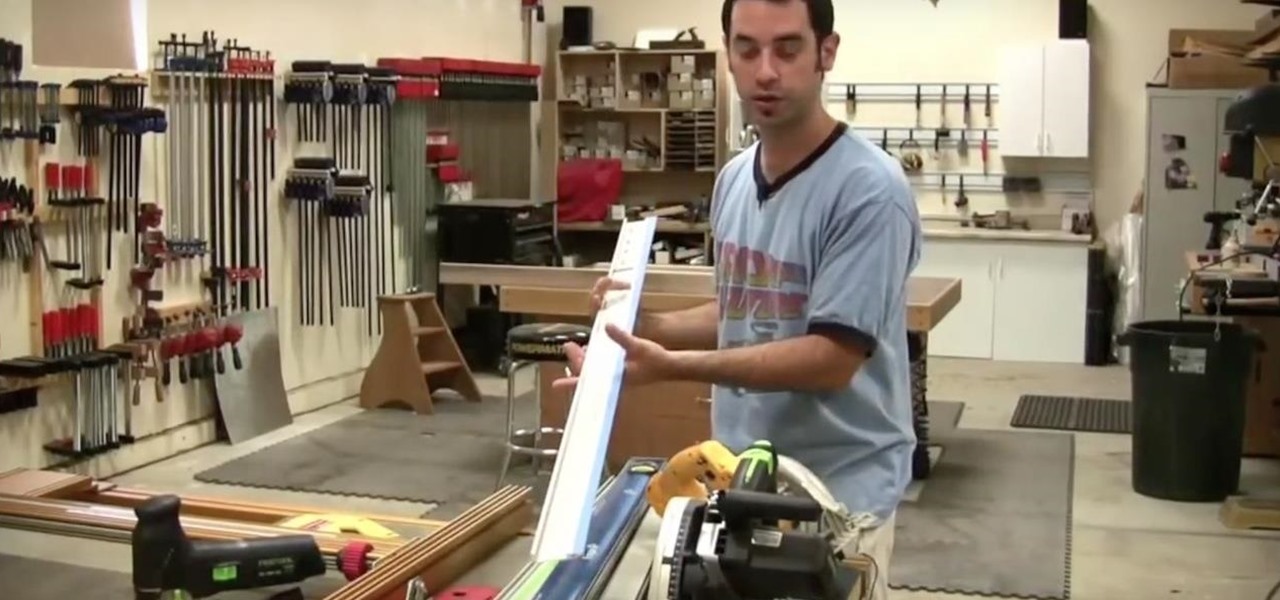
How To: Create a homemade crosscut sled on your table saw
Check out this DIY video tutorial from Curbly, the best place to share pictures of your home, find design ideas, and get expert home-improvement advice.
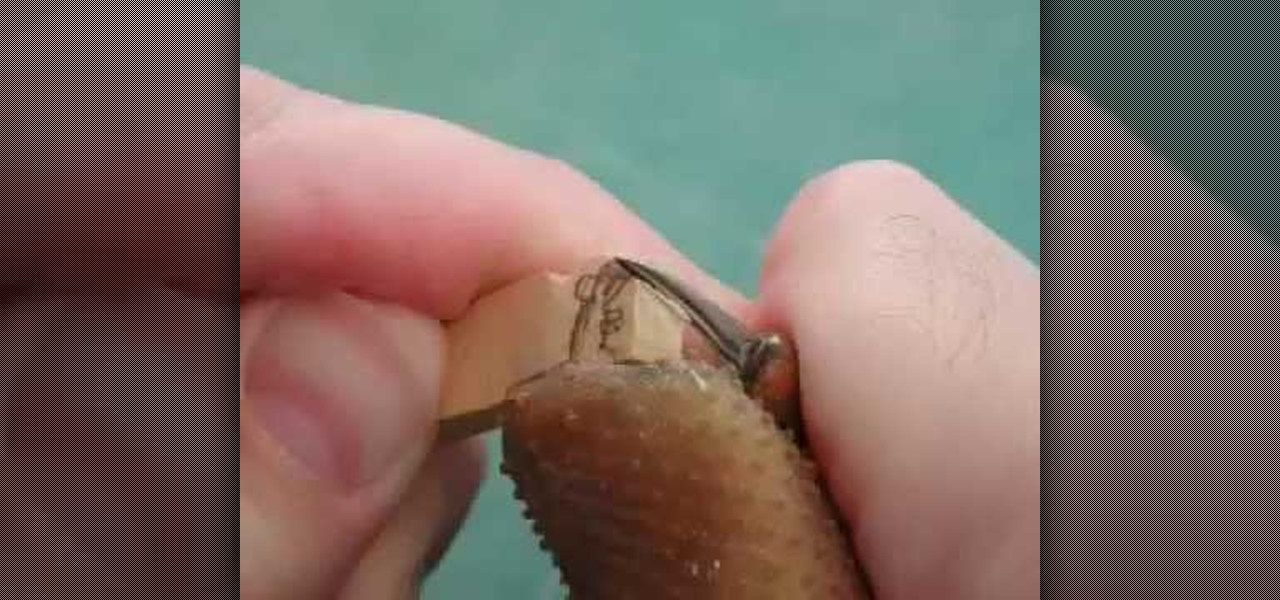
How To: Carve a teeny wooden mouse
Whittling seems hard, but not with this video tutorial... watch to learn how to carve a teeny wooden mouse with a small knife, sander and drill.

How To: Build a table saw crosscut and miter sled
Check out this woodworking video from Eagle Lake Woodworking. Learn how to build a table saw crosscut and miter sled by watching this five-part series.
How To: Make a lock miter joint
Watch this instructional carpentry video to woodwork a lock miter joint with a lock miter bit and set up block. Join materials at 90° by cutting a 45° miter and a matching tongue and groove glue joint. This joint not only increases mechanical strength, but also increases glue surface area and automatically aligns parts.

How To: Build garden benches
A place to sit and relax can add greatly to the enjoyment of your backyard, garden or flower beds. A garden bench is one answer and also a fun workshop project. Garden benches, as seen by the examples here, can range from classic designs requiring a fair amount of materials and woodworking expertise to simple slab benches that require little effort, can be built from scrounged materials and add a “rustic” appeal to yards. In this DIY video tutorial, you'll find step-by-step instructions for b...

How To: Build bookcases for a home library
Books, books and more books — we've had that problem for years. Books stored in boxes in the closet, books in the attic and some in the basement that eventually became ruined. In this DIY video tutorial, you'll find step-by-step instructions for building pine bookcases to house your many books. For more, or to get started on your own home library project, watch this how-to.

How To: Build a swing arbor
Building a swing arbor is a fun weekend project that can really spruce up the landscape without requiring a lot of out-of-pocket expense. Plus, the project is fairly easy to build, requiring only basic carpentry skills, and can provide years of outdoor enjoyment. The materials for the swing cost about $100, and you can complete the project over the course of two afternoons. For more information, or to get started building your own swing arbor, watch this DIY video tutorial.

How To: Make old cabinets look like new
Cabinets are usually the most prominent feature of a kitchen and greatly determine the room's overall décor. Peeling paint, nicks and scratches, or a dull, dirty finish can plague older cabinets and really sap the pizzazz out of the living space. On the other hand, a fresh coat of paint can do wonders for cabinets and breathe new life into the kitchen. A repainting project can also save tons of money when compared to full cabinet replacement, which can easily total several thousands of dollar...

How To: Carve a spoon with a hook knife
Understanding how a knife most likes to cut wood is key to doing any woodcarving. In this video tutorial, a pair of disembodied hands will demonstrate, step by step, a method for efficiently carving out the bowl of a spoon with a hook knife. (Said hands use a blank of basswood for expediency; birch is normally used for eating spoons.) To learn more about carving with a hook knife, watch this folksy how-to.

How To: Apply a sand, or first-coat, sealer to woodwork
Sanding sealers, also called first-coat sealers by some manufacturers, are recommended when refinishing furniture. Although using a sanding sealer is a good step to take regardless of the type of stain you are using, it is especially necessary when using water-based stains. Apply the sanding sealer after you have bleached your furniture, but before you have applied the stain. Sanding sealers provide an important barrier to keep the wood pitch and stain from bleeding into the water-based topco...

How To: Chemically strip furniture or woodwork
Stripping furniture or woodwork can be like a treasure hunt, revealing a beautiful wood surface beneath old paint and varnish. An old finish can be removed mechanically using a sander, but you run the risk of sanding off fine detail and contours in the woodwork. Chemical stripping enables you to soften the finish and then remove it with a scraper. Chemical stripper will remove most painted, shellacked or varnished finishes. For complete, step-by-step instructions for this DIY project, watch t...

How To: Apply a varnish topcoat to furniture
Applying topcoat is the final step in successfully refinishing your furniture piece. Water-Based Polyurethane Topcoats are strong, durable and are favored because they dry crystal clear, allowing the beauty of the wood grain to show.

How To: Apply a tung oil topcoat over an oil-based wood stain
Prefer a clear, hand-rubbed, "antique" finish to the shiny or satin sheen of varnishes? Then you will want to use a tung oil-based topcoat applied over an oil-based stain when you are staining or refinishing your special piece of furniture.
How To: Apply an oil- or water-based stain to wood
Staining wood is an exciting and fun step in your refinishing process. Staining brings out and enhances the patterns in the wood grain and it unifies an overall color. At this stage your project piece begins to look more finished. Allow enough time to complete this task from start to finish to ensure continuity of color. You have the choice of using either water or oil-based stain, and each offers advantages and disadvantages.

How To: Bleach to lighten wood & remove stains from furniture
Restoring wood furniture takes time and patience, but the results of your labor can be enjoyed for years, even generations. The restoration process usually involves stripping off old finishes, bleaching, staining and then varnishing. Two-Part Hydrogen Peroxide is a strong bleach that will lighten wood and remove previously applied finish stain, providing you with a fresh new surface to refinish.
How To: Bleach water stains from furniture
When restoring older wood furniture you will probably encounter dark rings and black spots, which are caused by water stains. Oxalic acid is a moderate bleach that will remove these stains even if they have penetrated the wood surface. Oxalic acid will also remove finish stain applied previously and lighten the wood for a fresh new look. Restoring wood furniture takes time and patience, but the results of your labor can be enjoyed for years, even generations. The restoration process usually i...
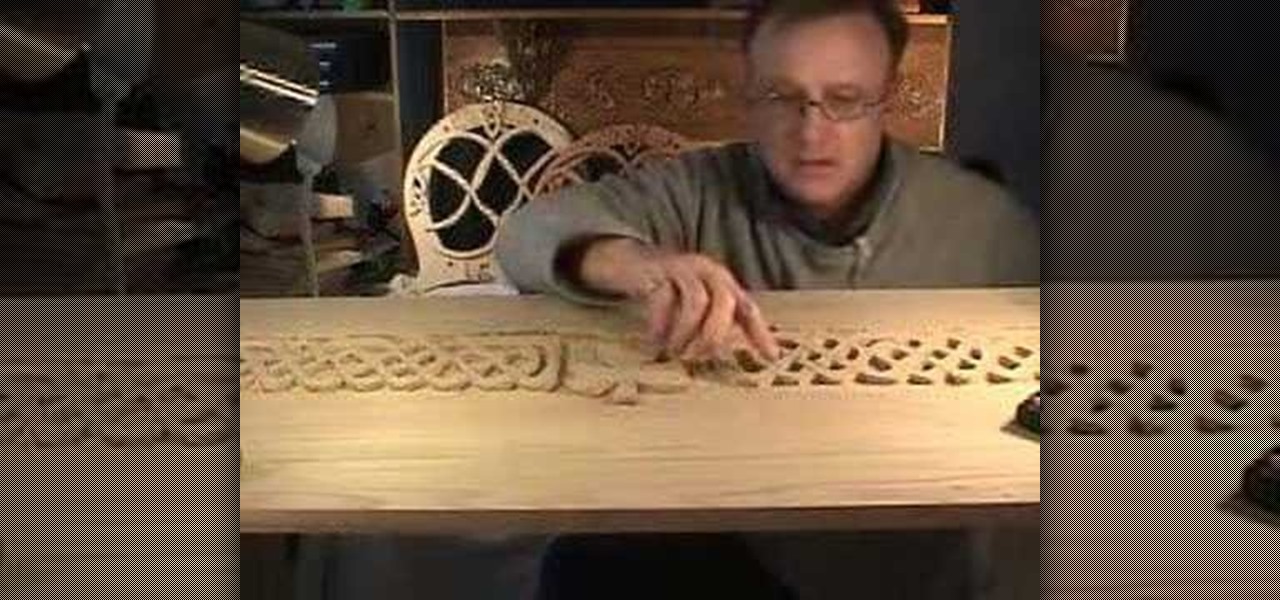
How To: Carve a Celtic Irish toy chest
Celebrate your Irish heritage, or just bring some beauty to your home with this Celtic chest, that's great for storing anything from linens to toys. You will need to have the cedar chest already made, a carving tool, and a pattern. Watch this video woodworking tutorial and learn how to carve an Irish Celtic toy chest.

How To: Build a mid-century modern style birdhouse
Help your avian alliances dwell in style with this handmade mid-century home. You may never be able to afford one for yourself, but watching the birds in your yard dwell in one of your making is the next best thing. Watch this video crafting tutorial and learn how to build mid-centruy modern style birdhouse.

How To: Hollow out a wooden ball form with a hollowing rig
New to the lathe or simply interested in further developing your skill set? In this four-part tutorial, you'll learn how to create a hollowed-out ball form using a lathe and a captured hollowing rig.

How To: Cut a natural edge bowl with the Ci1 Easy Rougher
In this tutorial, you'll see how to rough out a natural edge bowl with a Ci1 Easy Rougher (using a suboptimal piece of wood). The wood used in the tutorial is "shinoki," which is a kind of oak, and the lathe is a Nova DVR 3000 wired for 200V. Watch this video to get started roughing out your own natural edge bowl.
How To: Master the basics of the scrollsaw
In this four-part tutorial series from the Scrollsaw Workshop, Steve Good prevents an introduction to the fundamentals of using a scrollsaw and takes you through a very basic project to get you started. As always, the pattern is available, free of charge, through Steve's blog, scrollsawworkshop.blogspot.com.
How To: Cut an acrylic nameplate with a scrollsaw
In this tutorial from the Scrollsaw Workshop, Steve Good will teach you how to go about cutting an acrylic nameplate with a scrollsaw. As always, the pattern is available, free of charge, through Steve's blog, scrollsawworkshop.blogspot.com.
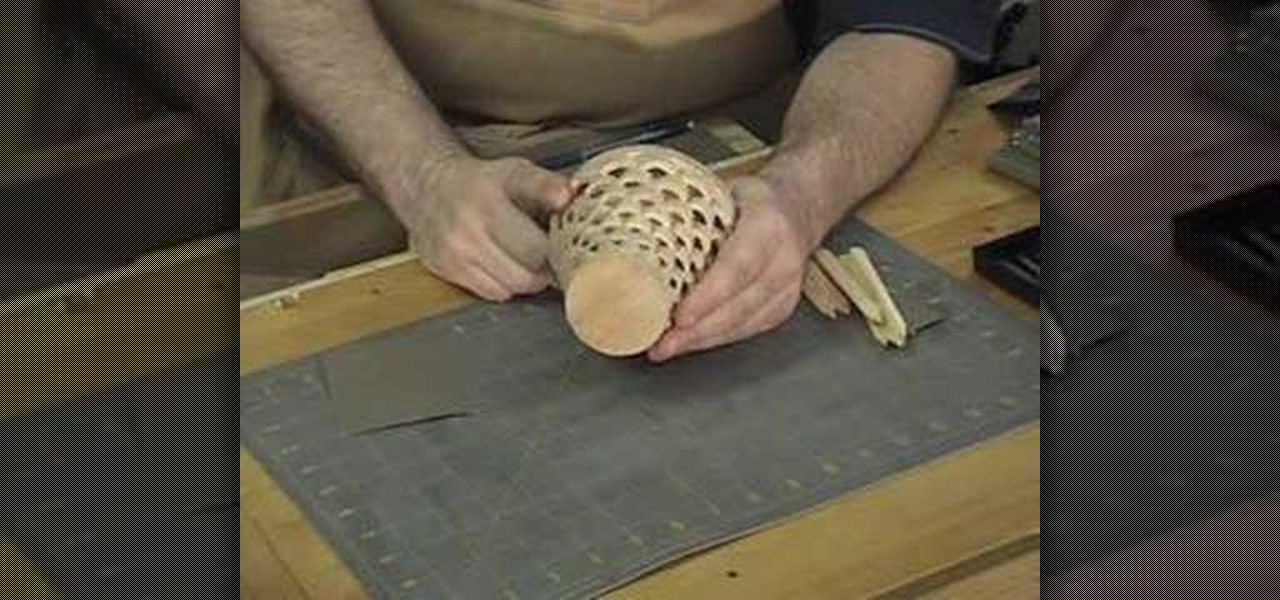
How To: Cut a hollow vase with a scroll saw
In this two-part tutorial series from the Scrollsaw Workshop, Steve Good walks you through the process of creating a hollow vase entirely without a lathe. As always, the pattern is available, free of charge, through Steve's blog, scrollsawworkshop.blogspot.com.

How To: Cut a floral clock with a scrollsaw
In this three-part tutorial series from the Scrollsaw Workshop, Steve Good will show you how to cut a floral clock pattern using a scrollsaw. As always, the pattern is available, free of charge, through Steve's blog, scrollsawworkshop.blogspot.com. Take a look!

How To: Cut a scrolled round inlay box with a scrollsaw
In this tutorial from the Scrollsaw Workshop, Steve Good discusses inlays, and demonstrates one of the simplest inlay types, the bevel inlay. Watch as Steve guides you step-by-step through the cutting of his inlay box on the scrollsaw. As always, the pattern is available, free of charge, through Steve's blog, scrollsawworkshop.blogspot.com.
How To: Cut a scrolled candle stand with a scrollsaw
In this tutorial from the Scrollsaw Workshop, Steve Good demonstrates how to build a scrolled candle holder, which, by his lights, is a very simple and entertaining project, great for novices to the scrollsaw. As always, you can find the pattern, free of charge, at Steve's blog, scrollsawworkshop.com.

How To: Buy a scrollsaw
In this two-part tutorial from the Scrollsaw Workshop, Steve Good discusses scrollsaw basics, including what to look for in a scrollsaw, blade selection, installing blades, and how to square up your table. Let Steve get you started on the scrollsaw with this how-to.
How To: Finish a scrollsaw project
In this two-part tutorial series from the Scrollsaw Workshop, Steve Good discusses how to finish scrollsaw projects–a process which, according to Steve, includes four steps: gluing, sanding, beautifying and protecting. Let Steve walk you through his finishing process with this tutorial.

How To: Cut a tall clock pattern with a scrollsaw
In this tutorial from the Scrollsaw Workshop, Steve Good demonstrates how to cut a tall clock using a pattern available at Steve's blog, scrollsawworkshop.blogspot.com. For this project, you'll need a clock face, wood of your choice (two 5" by 10" pieces and two 3" by 10" pieces) and a piece of contrasting wood for use around the border. Make time for this time-making tutorial; you'll be glad you did.

How To: Make three-dimensional cuts with a scrollsaw
In this tutorial from the Scrollsaw Workshop, Steve Good will teach you to make basic 3D scrollsaw cuts using simple patterns. Watch as Steve takes you through the necessary steps while making a small jewelry box. Take a look!
How To: Cut a candy dish with a scrollsaw
In this woodworking tutorial, you'll learn how to cut a candy dish pattern with a scroll saw. Watch as Steve of the Scrollsaw Worshop walks you, step by step, through the process of making your own candy dish from a block of pine wood.

How To: Rough out a small natural edge bowl
In this how-to, you'll learn how to rough turn a natural edge bowl from a piece of wood. (The wood used in the video is a Japanese wood called "Mukunoki.") The bowl is only about 8 cm in diameter and thus can be roughed out fairly quickly. Take a look!
How To: Make adjustments to a wooden clock
Watch this instructional woodworking video to make some typical adjustments to a wooden clock. If the tick is running unevenly you can add some lead discs to the weight. You can also adjust the pendulum length.

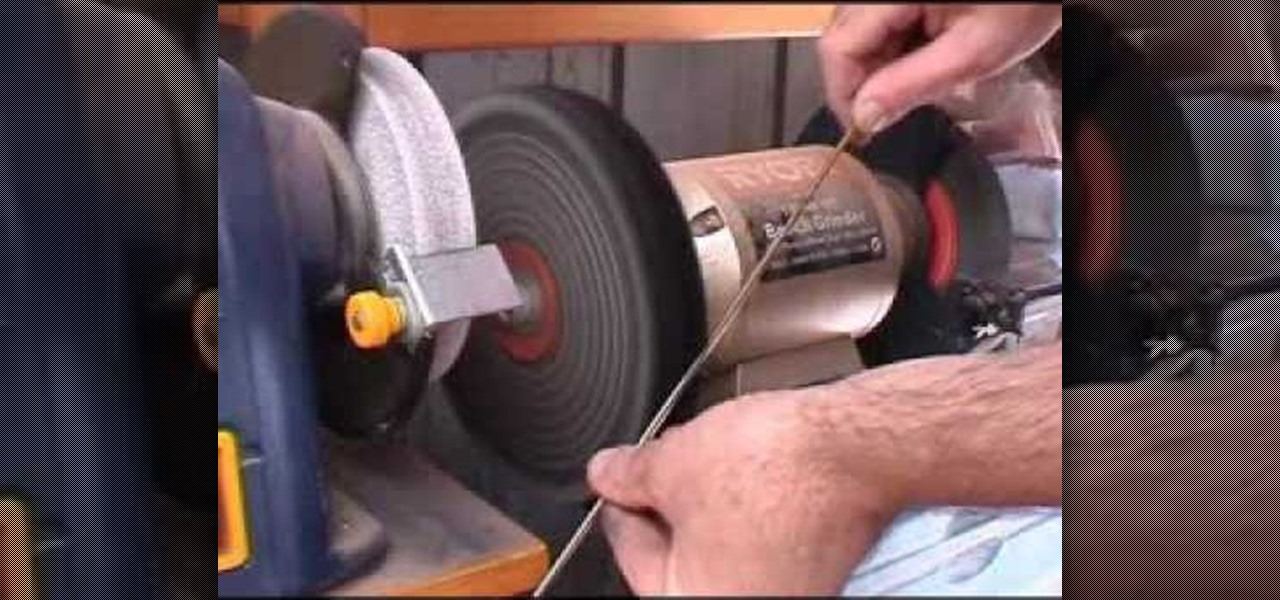
How To: Cut wheels for a wooden clock
This instructional woodworking video demonstrates how to cut out a wheel for a wood mechanism clock. You can use a band saw. The wood needs to be at least marine grade plywood.
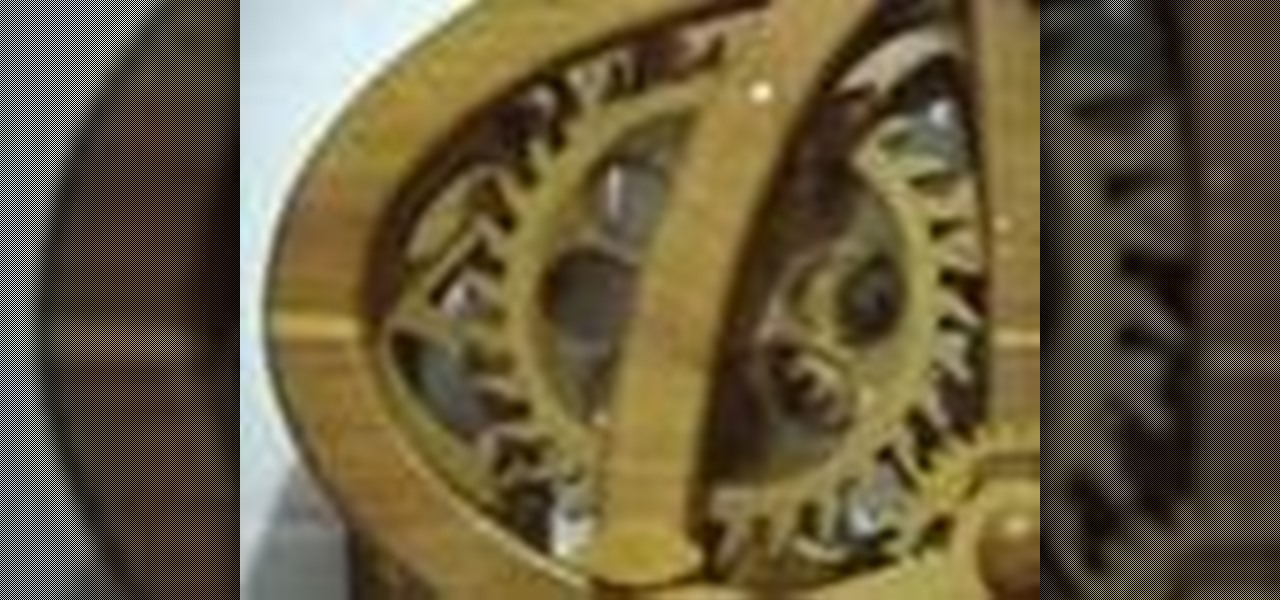
How To: Make a wooden clock
This instructional woodworking video demonstrates how to make a wooden clock. Here are some of the steps that go into making a wooden clock from plans sourced by Clayton Boyer. View complete instructions at http://lisaboyer.com/Claytonsite /Claytonsite1.htm.